In-App messages are great for engaging website visitors and boosting conversions. Use them to promote a sale/offer, encourage customers to schedule a call, request a quote, register for an event, download a white paper or eBook, and tons of other use cases! Messages can be crafted in a sliding corner, toolbar, or center lightbox style. The audience that sees your message can also be targeted with a variety of criteria.
In-app messages are an example of marketing automation. They are designed to engage and inform site visitors and help to convert them into customers. You can learn more in our complete guide to automated marketing.
Note: There are also posts available for the other Smart Message types, both Chat Smart Messages and Email Smart Messages. In-App messages are available in all of our packages.

How to create an In-App Smart Message
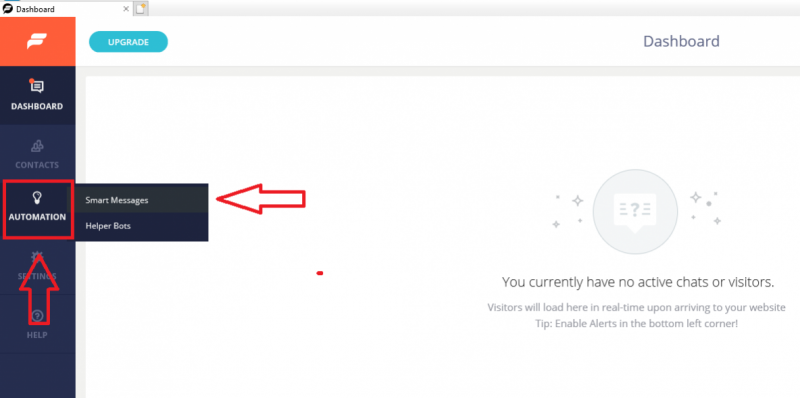
- Mouse over Automation on the left-hand side and click on Smart Messages.
- Click on the New In-App button.

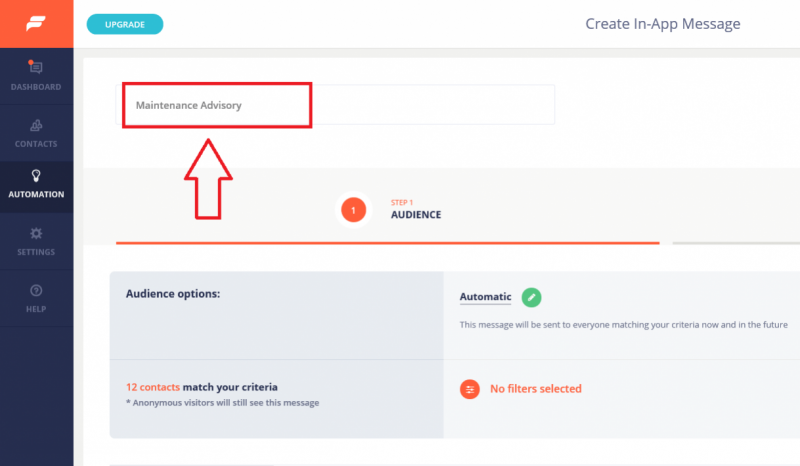
- Name your message in the top field. This is not a name the visitor sees, but a name you choose for your own reference like “July 4th 2020 promotion” or “Maintenance advisory” for example.
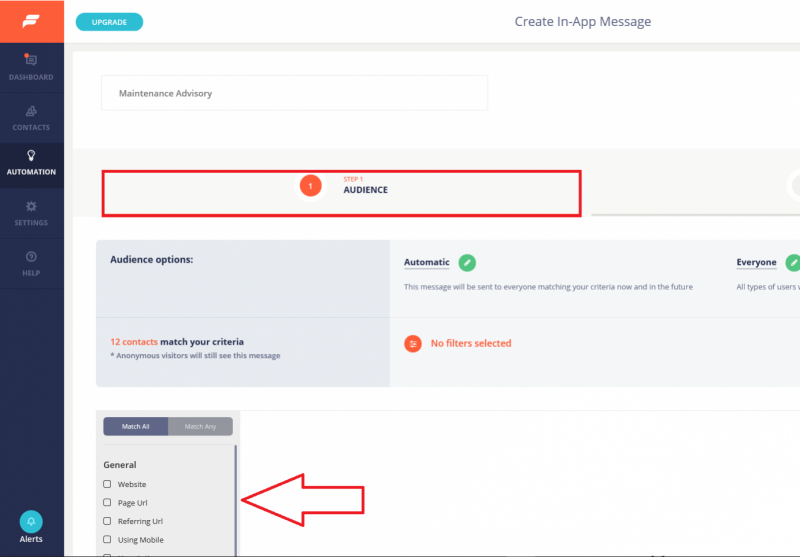
Audience Tab
Use filters on the Audience Tab to configure which visitors can see the message you are creating. We have a deeper look at the Audience Tab in our post on using Chat Smart Messages.
Message Tab
- Click on the Step 2/Message tab. Choose your Message style and display location. There are 3 message types to choose from.

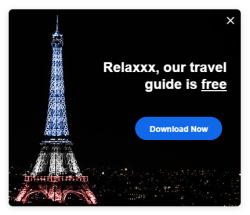
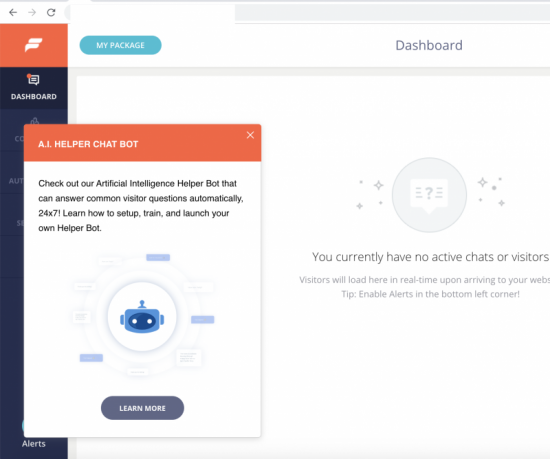
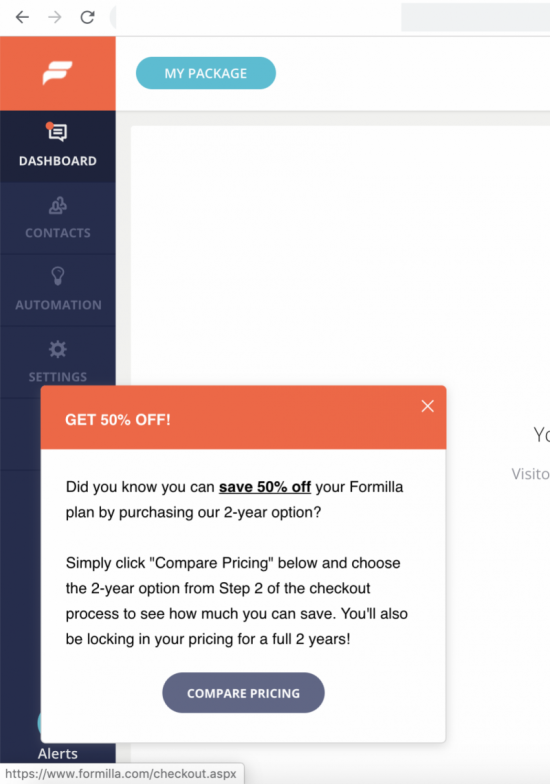
Sliding Corner Widget is a message that slides into view from the corner. The bottom right or bottom left can be chosen for a display location. Here are two examples of a bottom-left message:
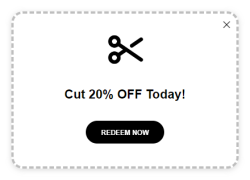
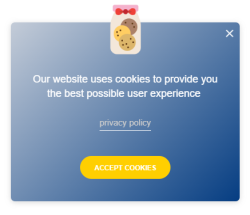
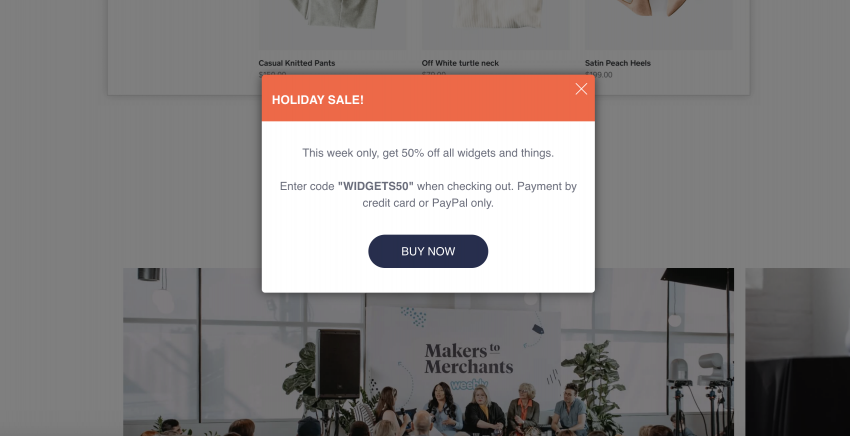
A Lightbox Popup is a pop-up that displays in the center of the screen. There is not a display location option for this message, it always appears in the center.
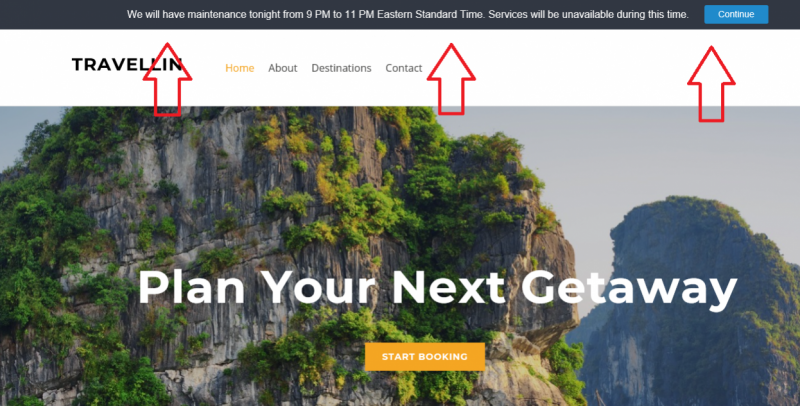
 A Top or Bottom Bar is a message that displays in a horizontal web bar. As the name suggests, top or bottom can be chosen as a display location.
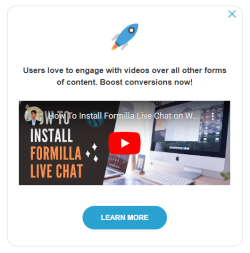
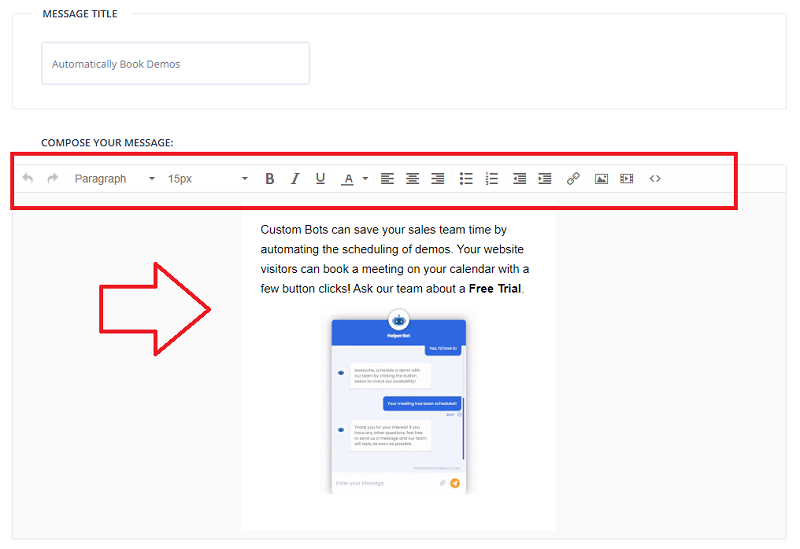
- Compose the message you want visitors to see in the Compose Your Message field. Notice, you have many rich-text options to choose from to make it look perfect. For example, you can customize the font size, colors, boldness, and you can even embed imagery and YouTube videos. This will boost engagement with your visitors considerably!
- Scroll down further to configure options for a button that displays in your smart message. Set the Button Text for the message you want to appear on the button. By default it just says “Continue”, but you can set it to say “Tell Me More” or “Sign Up” for example if you want the button to link to another page. Set the Button Target URL to specify the URL the visitor goes to when they click on the button. Leave this blank if you just want a button click to close the message. Use the Button Action Target drop-down to specify whether clicking the button opens a new window or goes to the target URL in the same window.

Customize Appearance Section
Here you can configure color options for message text, message background, button text, and button background. There is also a Custom CSS that advanced users can use to adjust width, position, margins, etc.

Edit Advanced Options Section

- Set how often the message is displayed. Once is set by default, but this can be set to several other options like always , once per visit, every x days, etc.
Tip: “Always” is a good way to continuously see your message, especially when you’re testing how it looks, adjusting text, etc.
- Set when the message is displayed. Time based means the message appears after a specified amount of time spent on the page by a visitor. Scroll based means the message will appear when the visitor scrolls down the page.
- Choose whether the message displays if the user is about to exit the site. Formilla will detect if a user is intending to exit (based on visitor mouse movements) and display this message beforehand if “Yes” is checked.
Note: This option is only available and only appears for the center Lightbox Popup option, as this is the message type that can appropriately capture a visitor’s attention.
- Choose to display the message again if the user has already interacted with it. By default, a message will only appear if a user has not interacted with it before. A visitor is considered to have ‘interacted’ with the message when they click the action button to “Continue”, “Learn More”, etc. You can switch to “Yes” if you have a message you want to override this default behavior. You may want to do this if you have a maintenance advisory or an announcement about holiday hours for example.
Tip: It is also a good idea to set this setting to ‘Yes’ when testing so that you repeatedly see the In-App message.
- You can delay the message a set amount of time if another message was already shown. If you have another In-App message set to fire for example, this allows you to set a timer separating how long to delay before this message appears. This can help avoid a frustrating sequence of consecutive messages appearing for the visitor.
You are finished with the setup of your In-App message! Now scroll back up to the top and click on Save to save your creation. Click on Send Now to have the In-App message displayed right away, or click on the Define Schedule link just below the Send Now button to specify the start and end date and time for your message. Defining a schedule is great if you plan to offer a holiday sale for a defined period of time, or a maintenance message you only want to show for a few days and then automatically stops.
In-App Message Conversion Statistics
You can view the performance of your messages by mousing over Automation and clicking on Smart Messages. Here you will see a list of messages that you have created along with information like the status of a given message, the created and sent date, and the number of view and clicks for a given message. You can see a conversion percentage by mousing over the value in the Clicked column.

Tip: You can also use our Google Analytics app integration to post conversion statistics right into your Google Analytics account.
